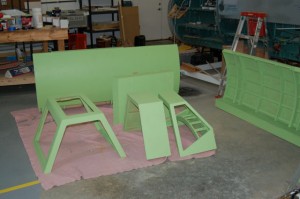
Today marked another milestone in my own cockpit built from the Series One DIY Cockpit plans.
The now primer-prepped tub has been assembled and painted!
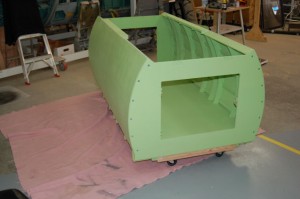
Here’s what it looks like before the final color was applied:
Because the floor in my shop is so uneven, I had to place it on a table and loosen all the bolts, re-align everything and then re-tighten all the bolts. Never does a day go by when I’m NOT reminded of those incompetent idiots that built my shop. 🙁
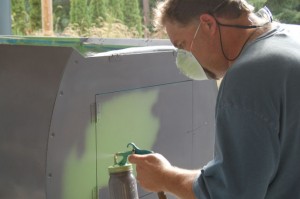
On to the painting!
The paint gun I’m using is called a “siphon gun”. It uses a high velocity stream of air across an adjustable height tip to “pull” paint from the paint pot. This particular one is called a “Critter Gun” and is available at Amazon. This is the only paint gun I’ve ever owned that will throw un-thinned latex paint. I have my compressor set to 80 PSI or so and this little thing does a fantastic job. As a bonus, it uses a little 1 pint Mason jar as the paint pot. Changing colors is pretty easy as you never have to wash out the paint pot, just clean the siphon assembly & gasket and change to another color in another Mason jar. Works great.
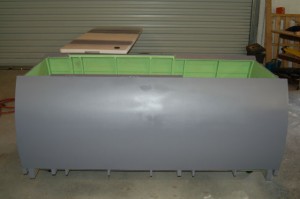
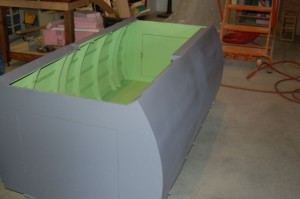
This is what the tub looks like after painting. I’m amazed at how well it turned out! I didn’t do a really great surface prep job before I primed, so the paint looks a little odd. The canopy, windscreen and other upper parts came out much better. Pics of those coming soon!
The Zinc Chromate Green interior color really gives it that “real cockpit” look. I can’t wait until I’ve got it done and I can actually use it!
Sunday the 30th I’ll be finishing off painting the upper cockpit parts like the canopy and windscreen. If I’m really lucky, I’ll get final assembly done tomorrow evening. If I do, I’ll update the site with new pictures.
Thanks for reading folks!
