Archives

All posts for the month July, 2015

I test printed a model today that I created last week based on SimHQ posting I saw.

Here’s what the solid model looks like:

grip-wip-01jul15-2

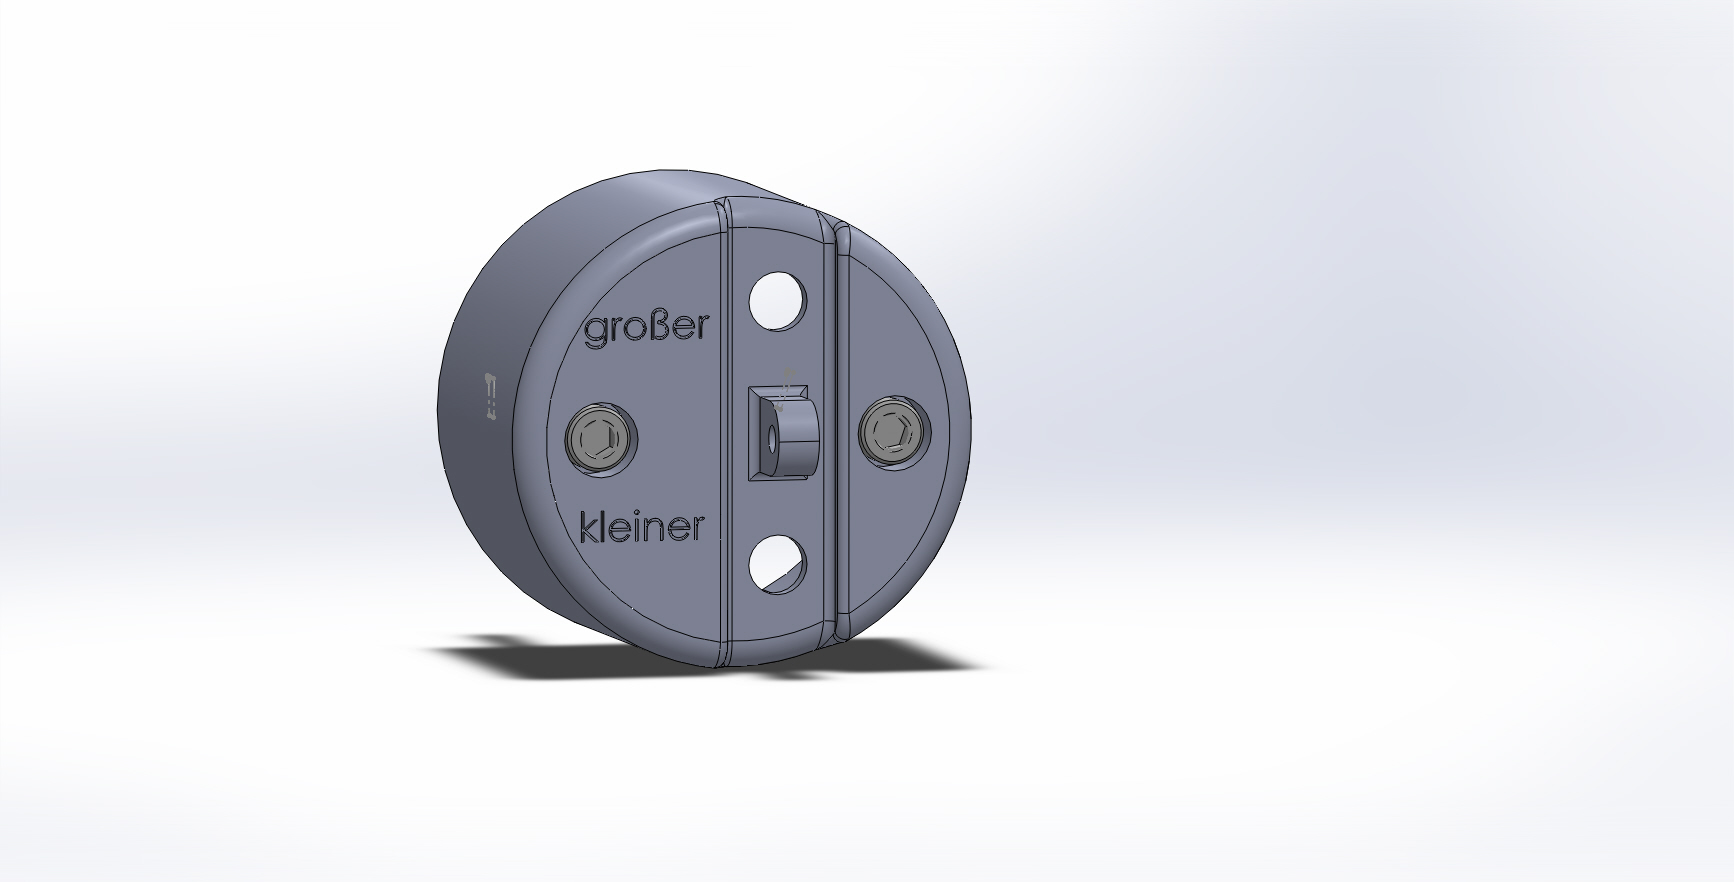
The lettering on the face of the grip relates to the control that hinges in the center of the grip – it controls propeller pitch.  It roughly translates to “Coarse” and “Fine”.

Here’s how the print came out:

grip-topgrip-inside

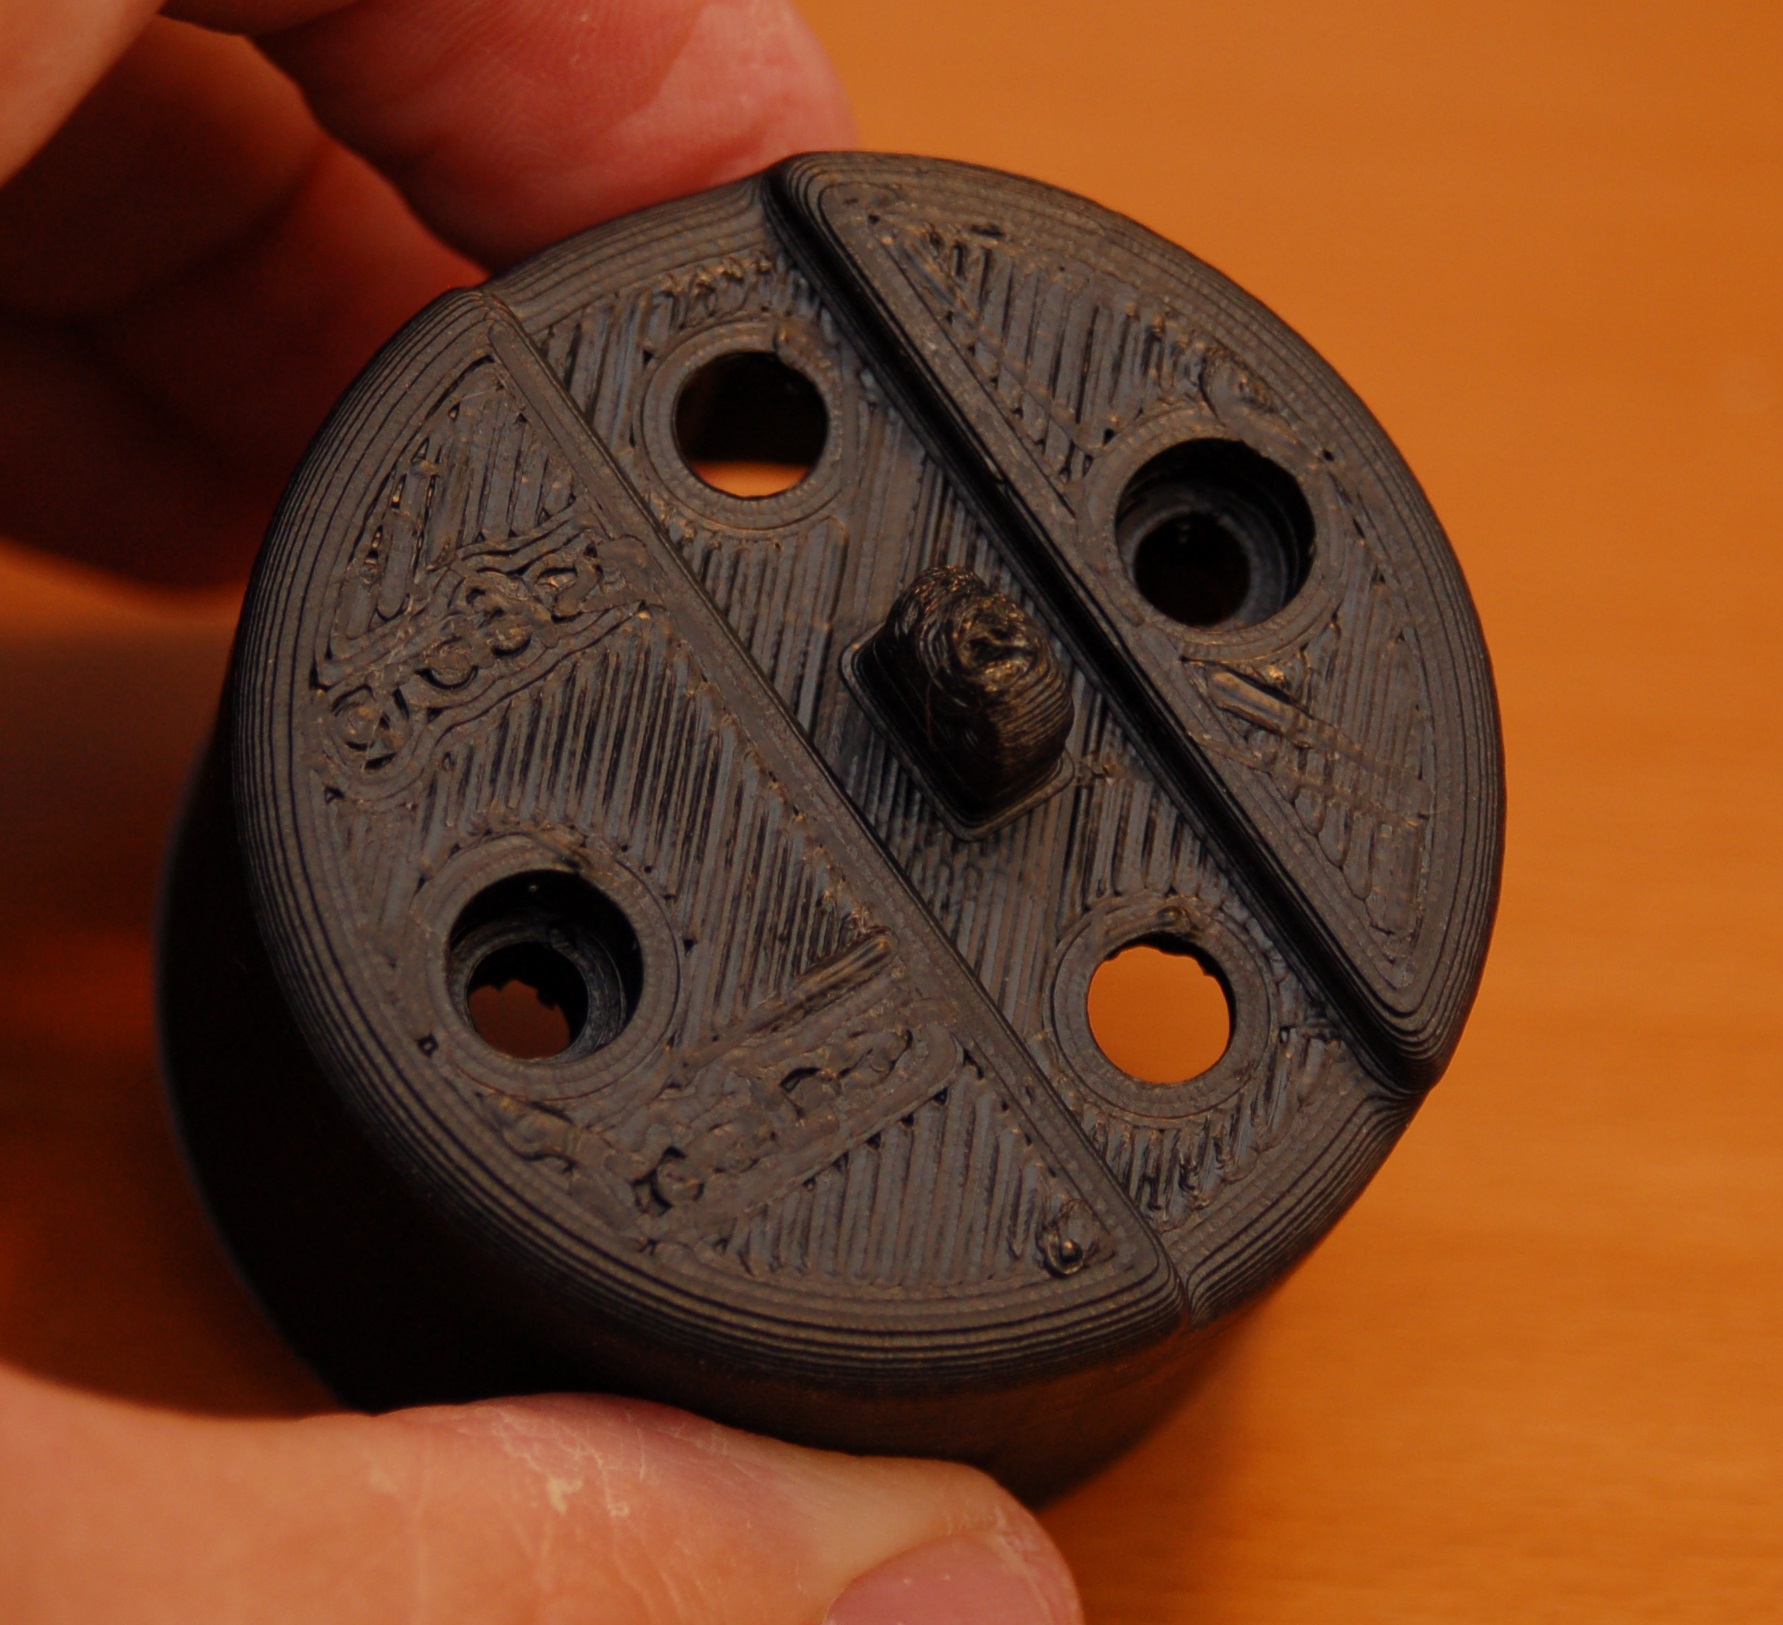
As you can see, the lettering didn’t turn out at all.  This could be fixed in one of three ways.  Increase the size of the lettering (not really practical), print with a smaller diameter nozzle – this was printed on a .5mm nozzle.  A .35mm might be small enough.  Last, you could print it flat and then mechanically engrave the lettering in post production.

My choice would be to do the lettering as a post-production step because the smaller nozzle diameter would dramatically increase the print time of the part.  At 0.5mm it took roughly 2 hours to complete.  With a 0.35mm nozzle, it would be closer to 5 to 7 hours.

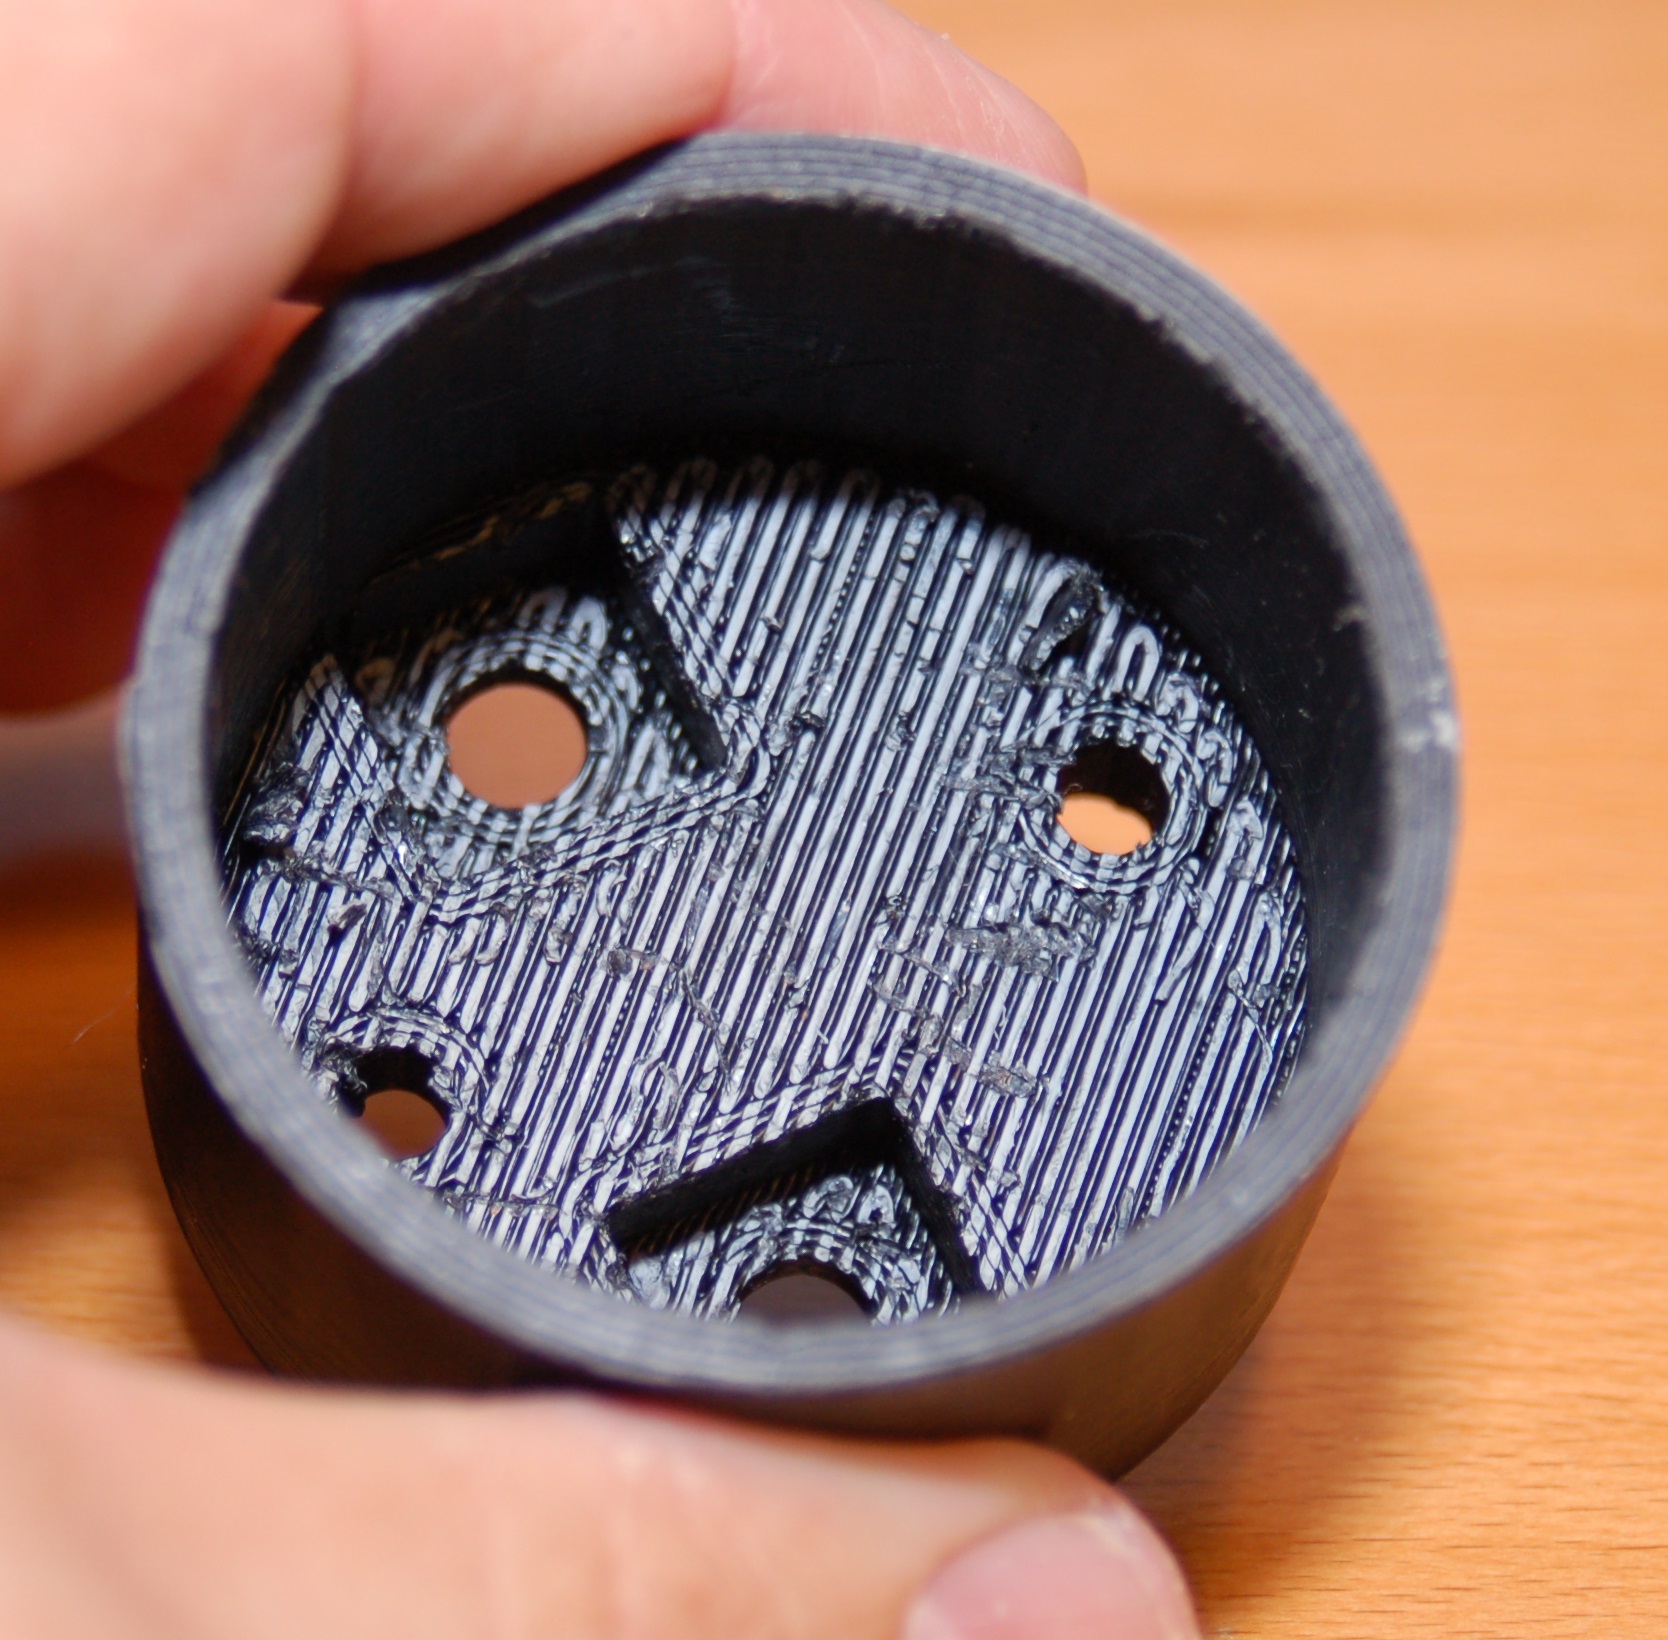
The square pockets shown in the second photo are there to take a C&K 8221 tactile push-button switch.  Here’s a photo I shamelessly lifted from Digikey’s website:

c-n-k-8221 switch

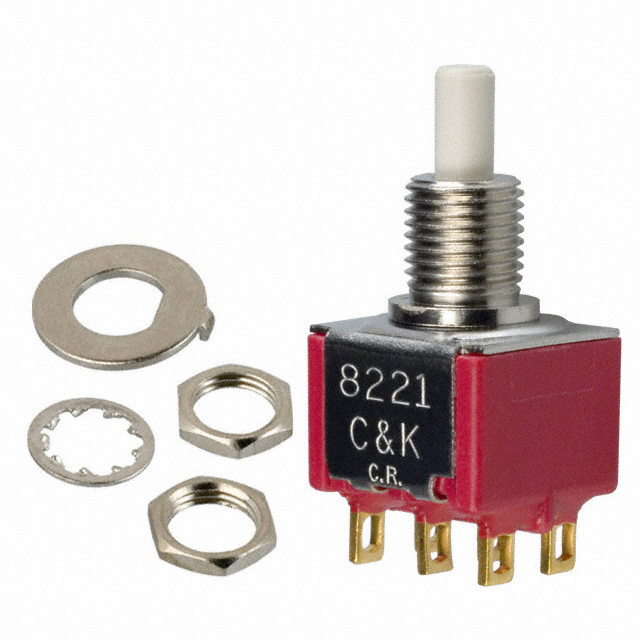
The rocking lever that goes on the face of the grip would hit the switches as it is rocked from top or bottom.  I don’t know if I’ll finish the design, but it was a fun design lesson and an interesting print.

This project has been simmering on the back burner for a very long time now.  I only recently got a chance to scrounge up a round-tuit in order to get this thing done.

With the advent of the Arduino hardware ecosystem has come a general bar-lowering for people doing all kinds of projects.  This especially holds true for those of us building simulators of various stripes.  You can find Arudino-based gadgets driving instruments and masquerading as all kinds of little cockpit gadgets these days.

One of the holes in this has been a genuinely easy to use flight control interface based on the Arduino.  Well with the introduction of the MMJoy2 firmware as written by “mega_mozg”, this hole has been filled.

Continue Reading

As I mentioned before, the instrument panel on the Bf-109K4 (and some G models) consists of three parts.  An upper “casting”, a main panel and a blind flying panel.

Since I had the day off today, I took a little time to get some work done before it got too hot in the shop to work.

The original panel mounts that I created aren’t going to work with the current cockpit design, so some months ago, I fabricated some new panel mounting brackets on my 3D printer.

old style bracket

The green part is the original bracket I printed last year when I first started poking at this project.  The small white part is a drill template, which is also 3D printed.

Continue Reading